How to Prepare Your Restaurant for a Food Photography Shoot (and Get the Most from It)
I know that running a successful restaurant means time is your most precious asset. The last thing anyone wants is wasted time or a shoot that gets in the way of service.
That’s why I created this guide. It covers the essential preparation steps that will save us both time on the day and guarantee high-impact results, minimising disruption to your service. Follow these expert restaurant food photography tips, and you’ll ensure we capture stunning images every time.
Studies show that restaurants using high-quality culinary photography on menus can see up to a 30% increase in sales, which is why preparation is so important!
1. The Essential Pre-Shoot Checklist
Before I even think about setting up the camera, it’s worth you taking a step back and deciding why you’re doing the shoot. Clear goals make a huge difference to the end result—not just in how your photos look, but in how profitable they’ll be for your business afterwards.
Think about the purpose: Are these images going on your website, printed menus, or running on a year-long social media campaign? Maybe you’re launching a new menu or updating those vital delivery app listings. Each of those scenarios needs slightly different compositions, aspect ratios, and lighting setups.
If I know the commercial purpose behind the shoot, I can plan everything around it—from choosing the right angles to tailoring the light perfectly to your brand. A good brief doesn’t need to be complicated; a few bullet points about your goals and how you’ll use the images will go a long way towards creating a shoot that feels intentional and fits your business perfectly.
2. Prep The Stage: Getting The Restaurant Photo-Ready
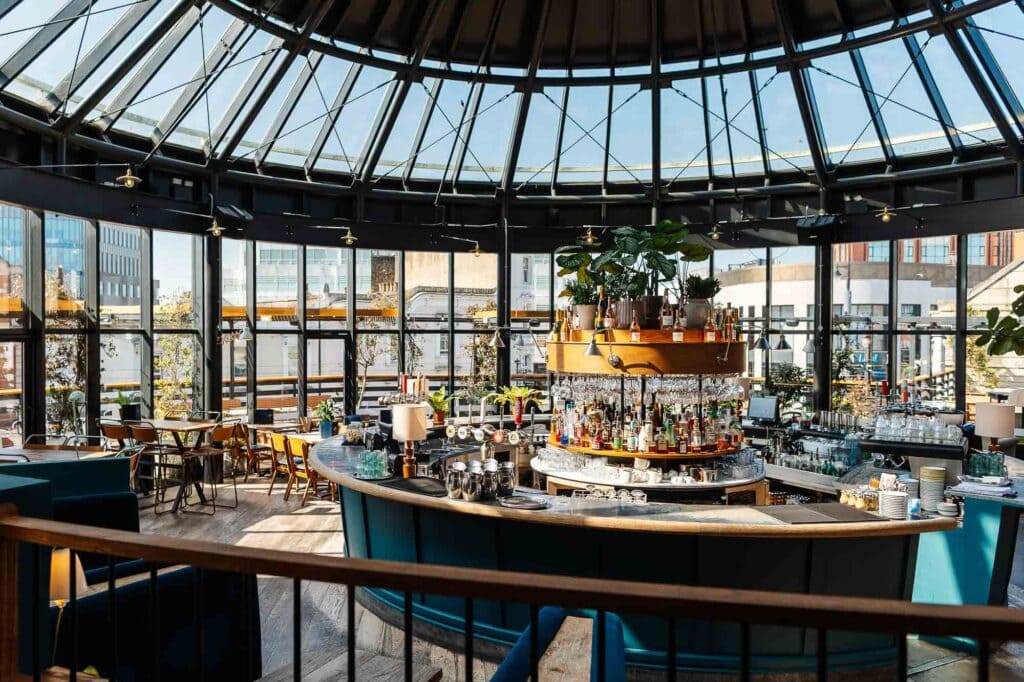
This is where we focus on your actual space. Since I specialise in on-location restaurant food photography, a few small preparations can make a huge difference. Before I arrive, walk through the areas we plan to shoot in and treat it like an intensive spring clean: the camera catches everything a normal eye misses. Clear away any distracting clutter, paper, or cleaning supplies creeping into the edges of the frame. Ensuring the surfaces are spotlessly clean is one of the most effective restaurant food photography tips I can give you to maximise our shooting time!
3. Plan Dishes That Photograph Well (And Are Still Edible!)
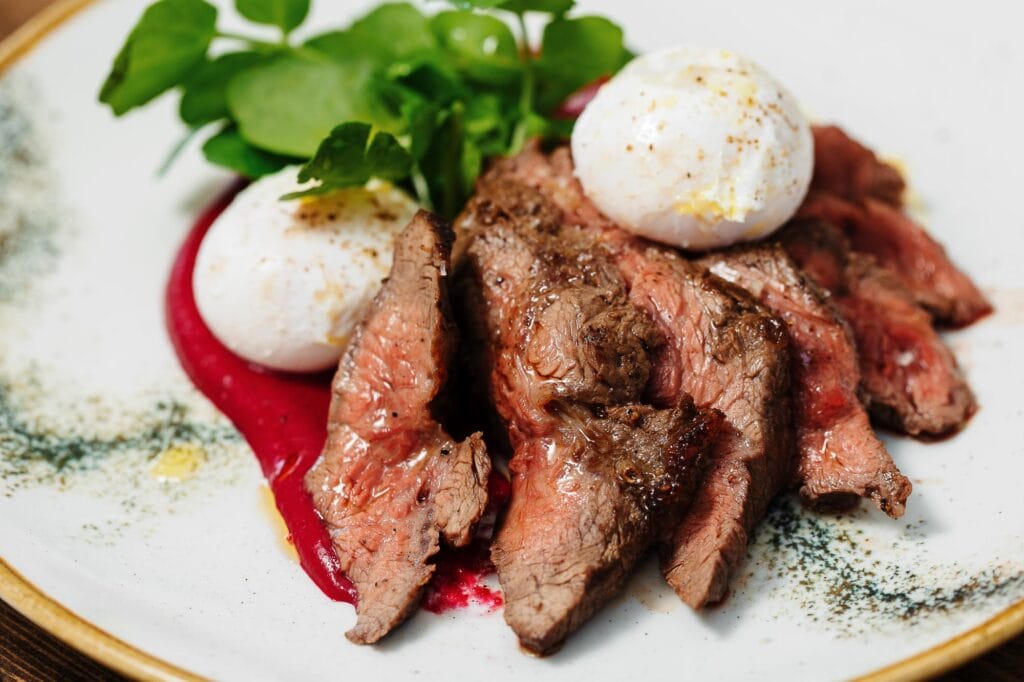
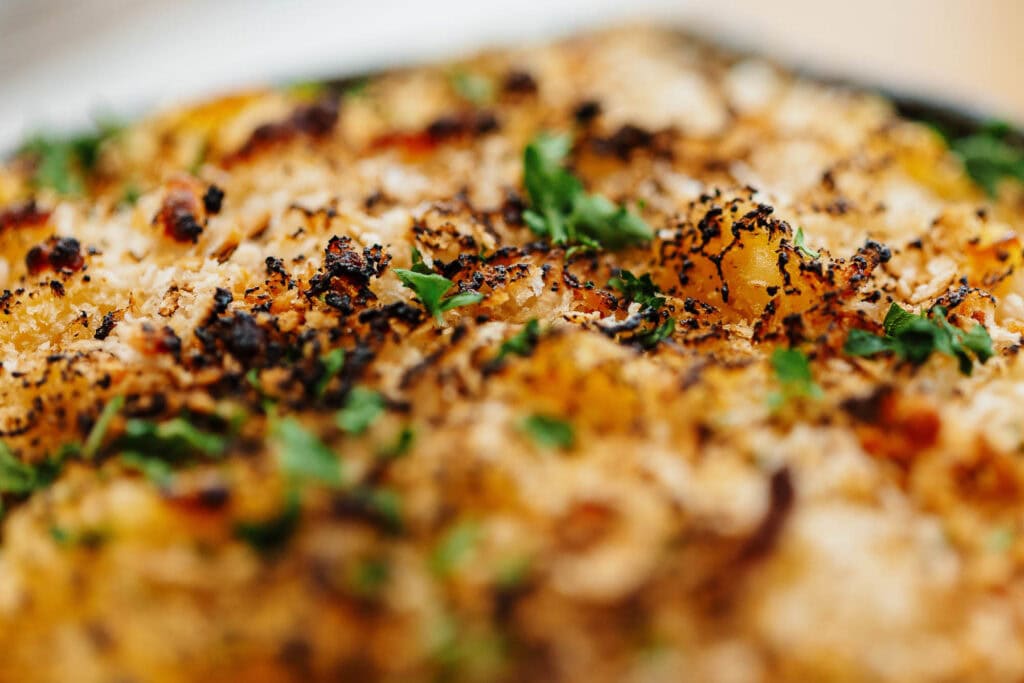
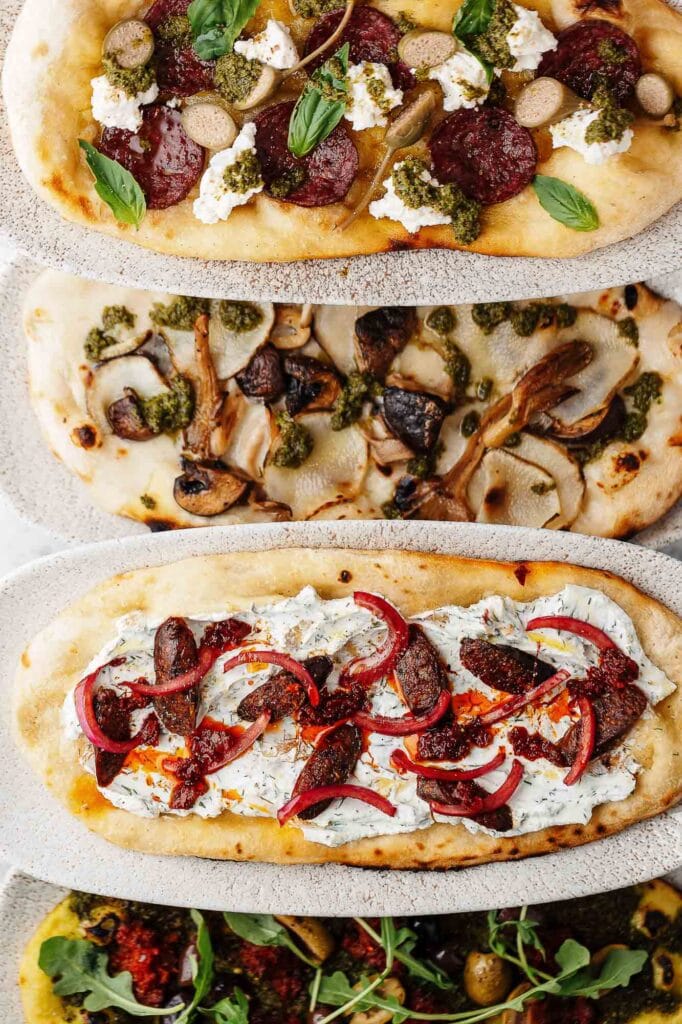
This is where the chef and I become partners. The biggest secret in food photography is to plan for a dish that tastes amazing and looks amazing. In the brief, let me know which dishes we’re featuring. This allows me to look at their structure, color, and key ingredients ahead of time. I can then advise on any small tweaks—like using fresher garnish or less sauce on the serving plate—that help the dish hold up under the lights and truly pop for the camera.
My golden rule is authenticity: We’re not styling props; we’re shooting real food. I’ll work quickly with your chef to plate the dishes right before they come under the lights, ensuring the steam is real, the melt is natural, and everything you see in the final image is exactly what the customer will receive. This collaborative approach guarantees the results are both beautiful and genuinely appetising.
4. Brief Your Team Before The Shoot (No Surprises)
This step is all about respecting your staff’s time. The smoothest shoots happen when the whole team knows the plan. Let everyone know which dishes will be pulled, where I’ll be set up, and who has the final say on plating. This collaborative transparency eliminates stress and ensures we capture the best images without disrupting your rhythm.
5. Logistics: Why Scheduling Smartly Saves You Money
When we talk about restaurant food photography tips, maximising efficiency is top of the list. Scheduling our shoot during your quietest periods is always the best option. This focused time means no impact on your service rush.
Smart scheduling also means grouping the dishes we shoot. We won’t jump back and forth between soups and steaks. By collaborating with your chef to shoot all cold dishes, then all hot dishes, we minimise setup time and prevent ingredients from losing their crucial fresh appeal. This planning saves money by making the most of every hour I’m on location.
6. Collaboration, Not Supervision: Working With Me On-Set
When I’m on location, I’m not there to boss anyone around—I’m there as your creative partner. My priority is to respect the chef’s process and expertise, not interrupt it. I rely on your team to provide the culinary vision, and in turn, you can rely on me to provide the technical and commercial vision. This shared focus ensures the final images are authentic and capture your food exactly as it should be served.
My role is to translate your kitchen’s hard work into amazing images that sell. If you can trust me to handle the lighting and composition, I’ll trust your chef to handle the plating and preparation. This smooth, two-way collaboration guarantees we minimise stress and maximise the quality of every single shot I capture during the session.
After The Shoot: What To Expect Next (Timelines & Edits)
Once the kitchen is clean and I’ve packed up, my work moves straight into post-production. You don’t have to worry about wading through hundreds of proofs—I personally make the final selections, guaranteeing you get the absolute best images from every single dish we shot. I then move into editing, ensuring every photo is colour-corrected, perfectly sharpened, and ready for you to use.
You can expect your finished, high-resolution images to be delivered via a password-protected online gallery that can be easily shared with your entire team. For a full-day shoot, delivery is within 14 calendar days, and for a half-day shoot, it’s typically within 5 working days. The gallery includes options for both web-sized and full-resolution files, giving you full control for immediate use.
Take a look at my specialised food photography services.
Understanding Culinary Photography vs Food Photography
People often use these terms interchangeably, but there’s actually a useful distinction worth knowing about.
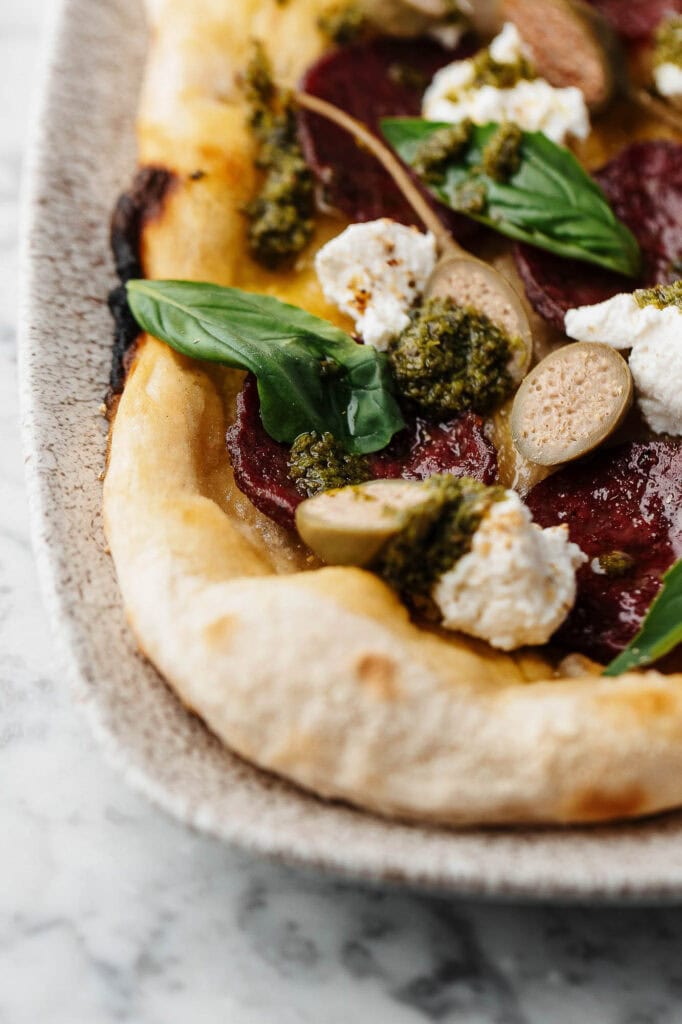
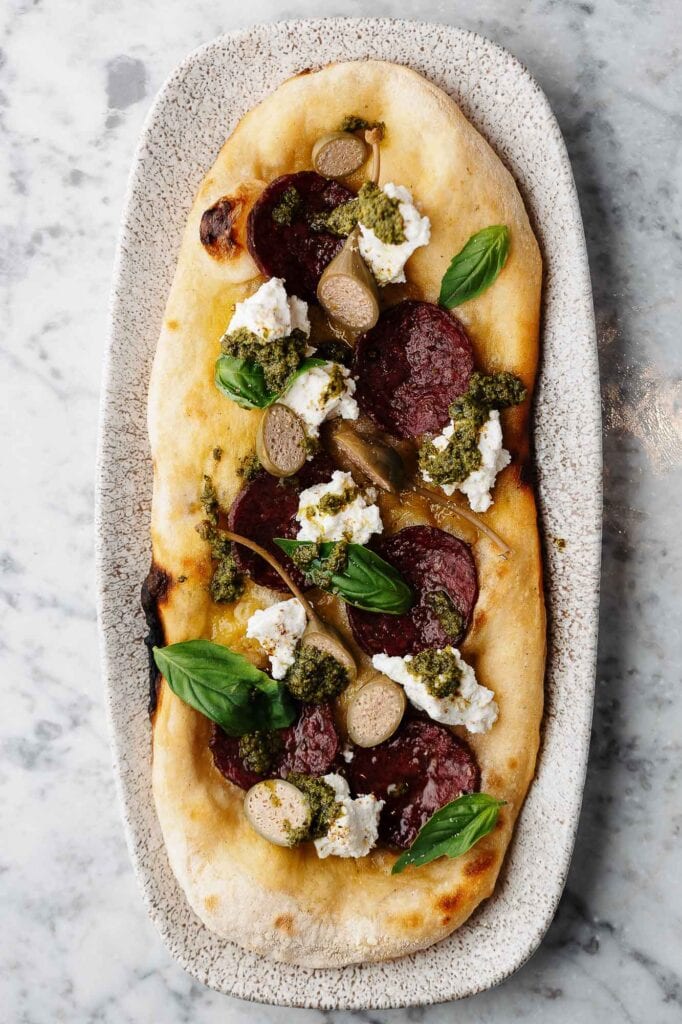
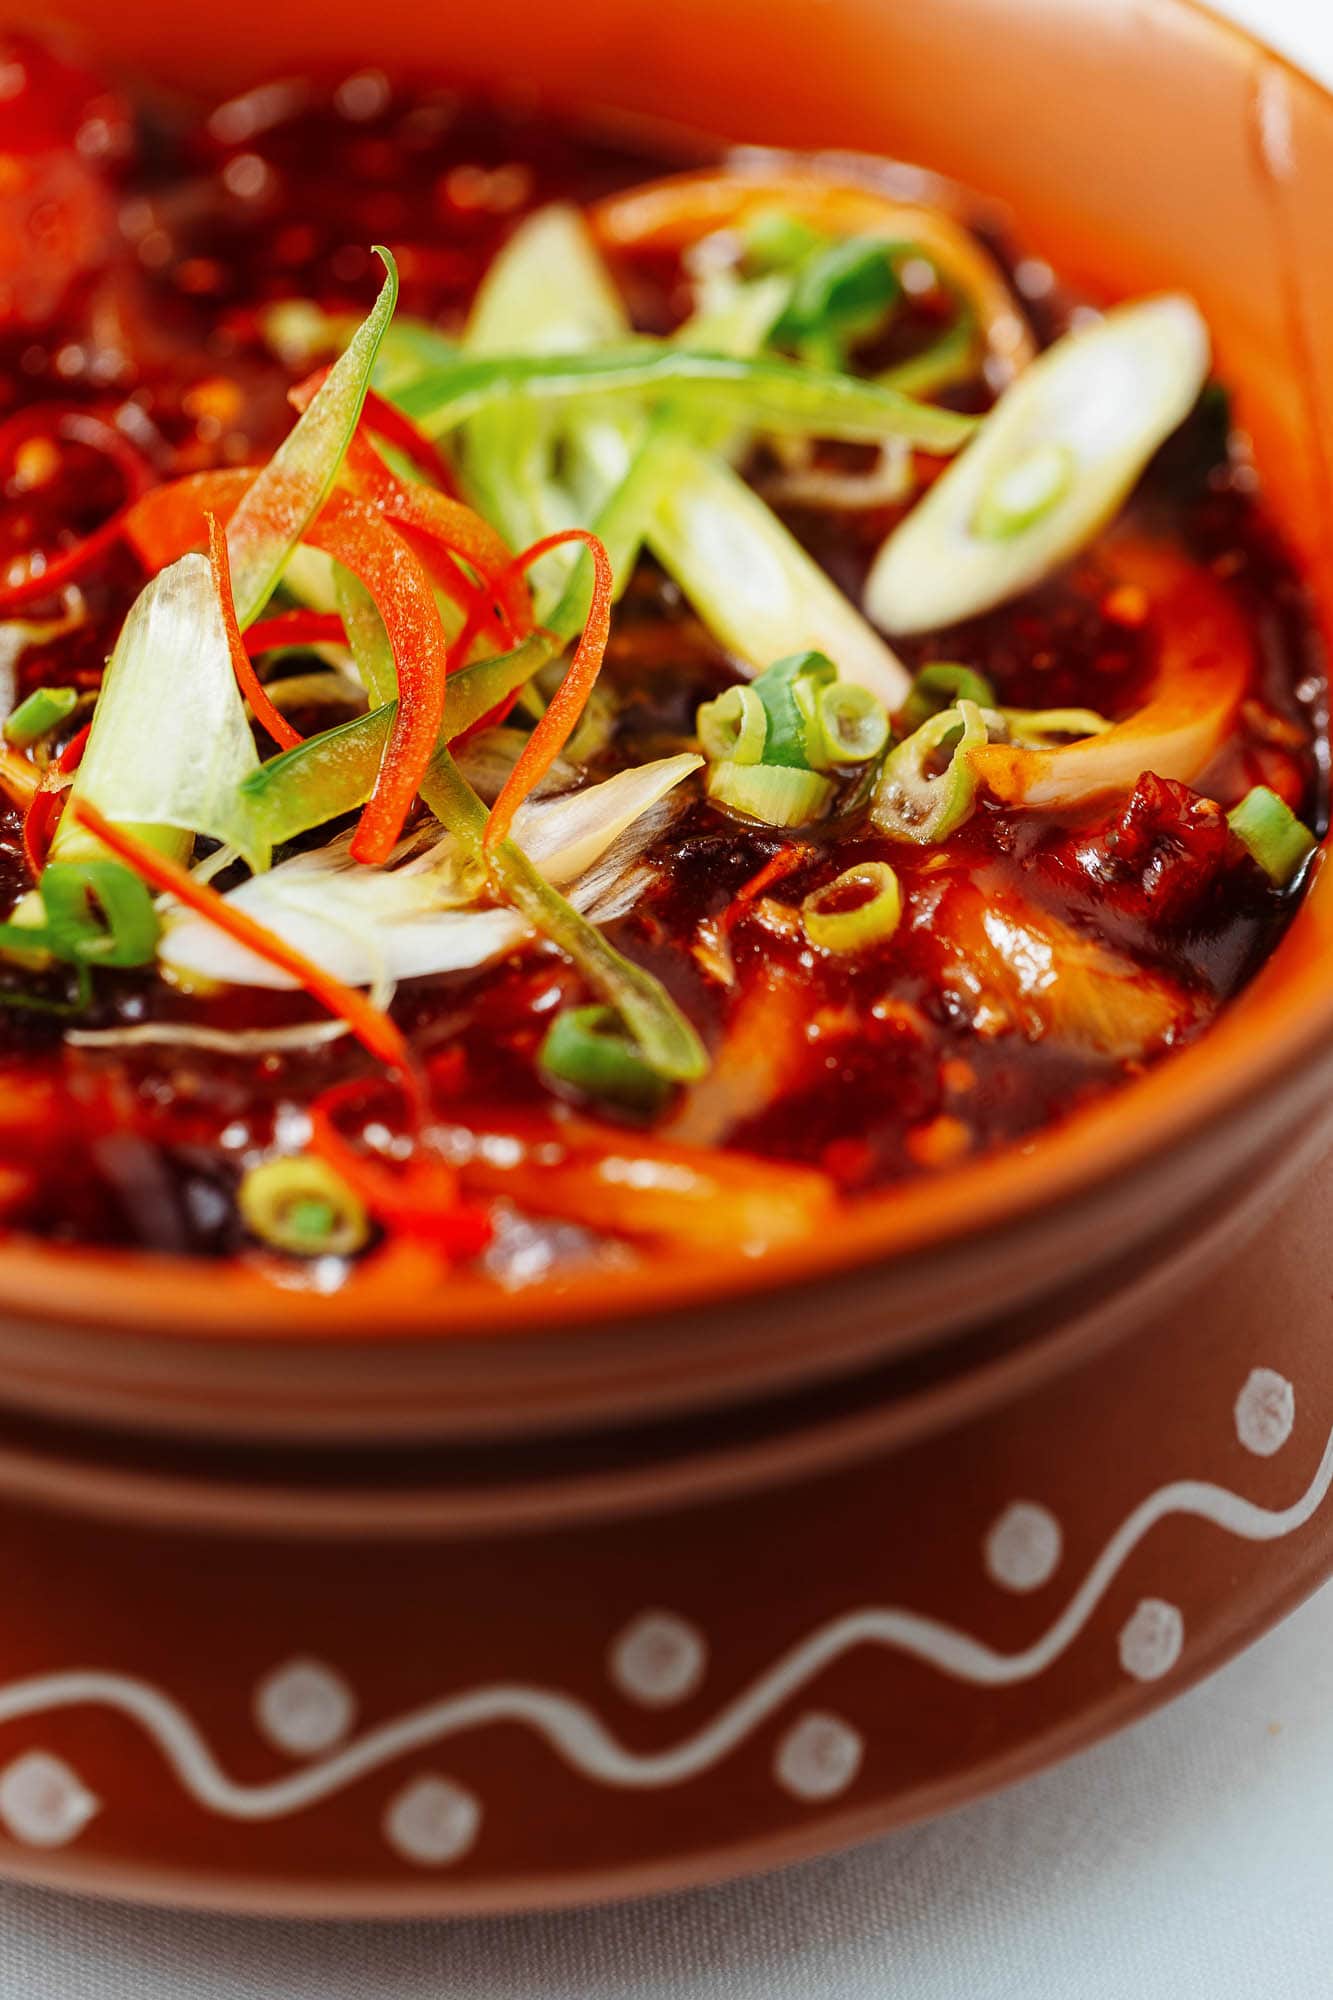
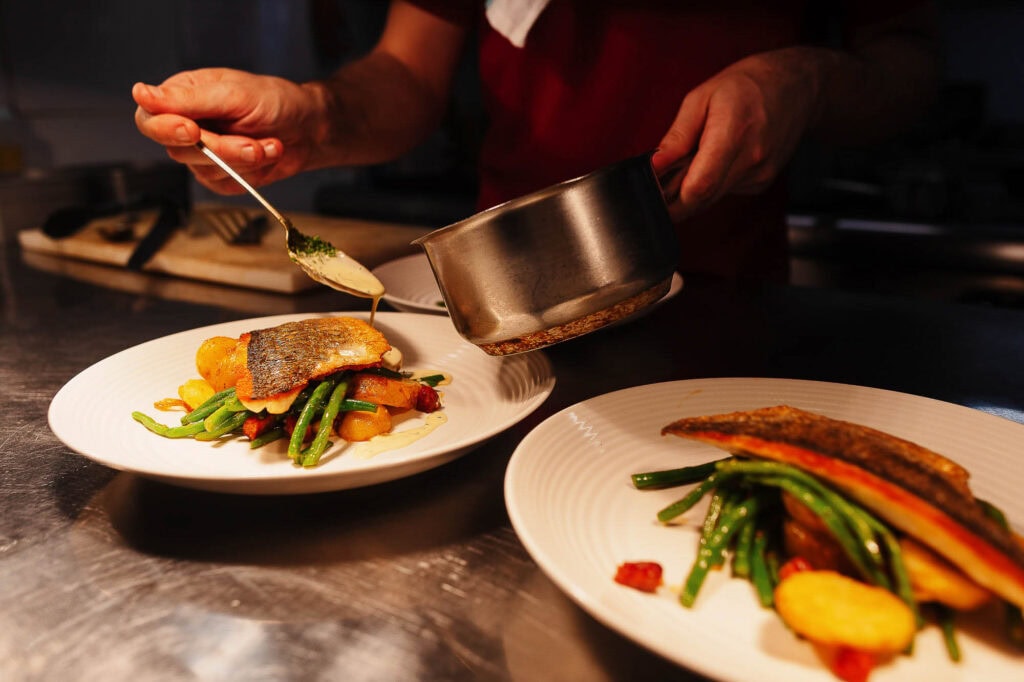
Food photography focuses on the finished dish. It’s that perfectly plated meal on the table, shot to make people hungry. The garnish is placed just right, the lighting shows off the texture, and everything is designed to make that dish look irresistible. This is what you see on menus, delivery apps, and most restaurant marketing.
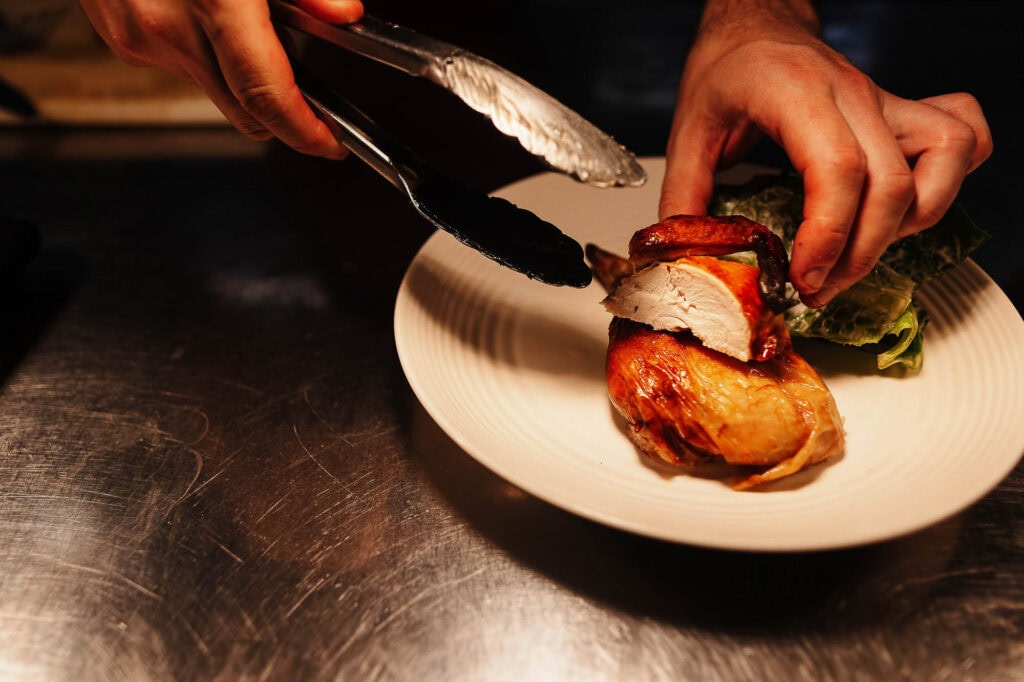
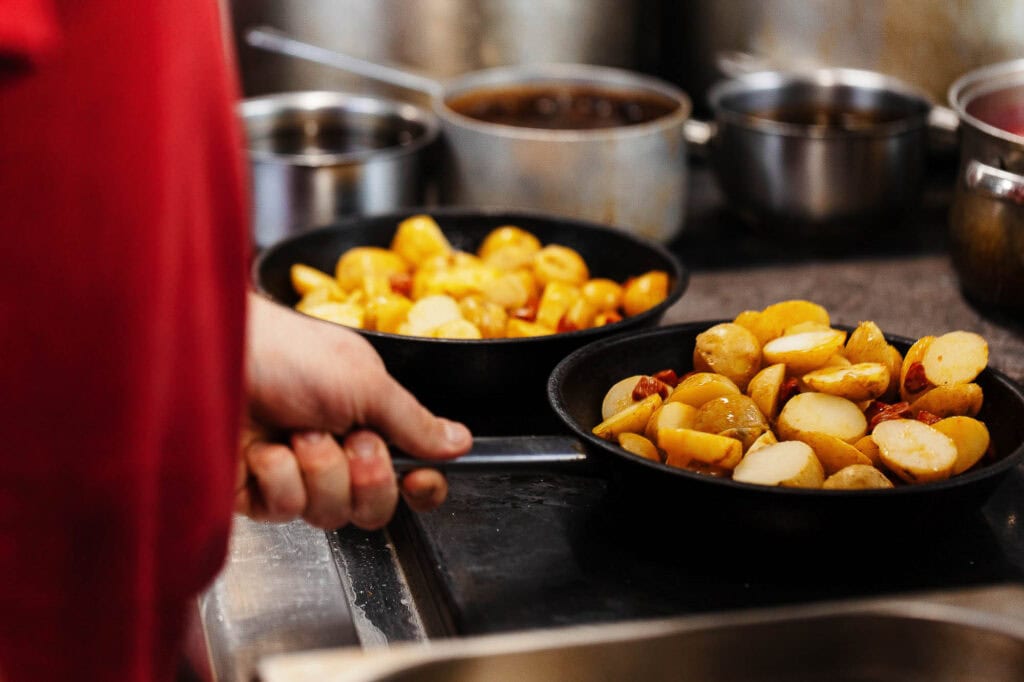
Culinary photography takes a wider view. It captures the entire story around the food. This includes chefs at work in the kitchen, hands plating a dish, steam rising from a pan, or the atmosphere of your restaurant during service. It’s about showing the craft and care that goes into each plate.
The best restaurant shoots blend both approaches. You need those hero shots of your signature dishes, absolutely. But the behind-the-scenes culinary photography adds authenticity and helps customers connect with your brand. It shows there are real people putting genuine care into the food.
When I shoot for restaurants, I always aim to capture both. The finished dishes sell the food itself, while the culinary shots sell the experience and expertise behind it. Together, they tell a complete story that builds trust with potential customers.
If you’re planning a shoot, think about including both styles. The variety gives you much more content to work with across your website, social media, and marketing materials.
The Final Word: Partnership Guarantees Success
Mastering restaurant food photography tips is ultimately about preparation and partnership. By implementing these six simple steps, you’ve ensured that every minute I spend on location is focused purely on creating high-impact, commercially useful images for your brand.
Stop wasting time and budget on unstructured shoots—let’s guarantee your next culinary photography project is a seamless success.
Frequently Asked Questions | Restaurant Food Photography Tips
I’ve covered the essential six steps, but I know logistical questions always come up! Here are some of the final practical details I often discuss with clients to ensure a stress-free shoot day.